Tis the season for the nuts to start falling. If you walk the greenways or live near groves of old trees, you may find large green balls on the ground. These are black walnuts, a notoriously difficult nut to crack.

Black walnuts, a close cousin of the English walnuts found on grocery store shelves, are native to the eastern part of North America and were a resource of both food and medicine for North American indigenous peoples. Black walnut was also commonly used as an ink and dye.
Walnut ink is so easy to make, it’s totally a kid-friendly project. Keep in mind that the ink is colorfast, so it will stain.
Go for a walk, gather some nuts then put on some clothes that can get stained. Let’s make some ink.
You’ll need:
Rubber gloves
Non-reactive pan that you don’t mind staining
Black walnuts with husk on, can be green or brown, just not shriveled and dried
Water
Rubbing alcohol
Sieve or cheese cloth
Glass jar or bottle for storage
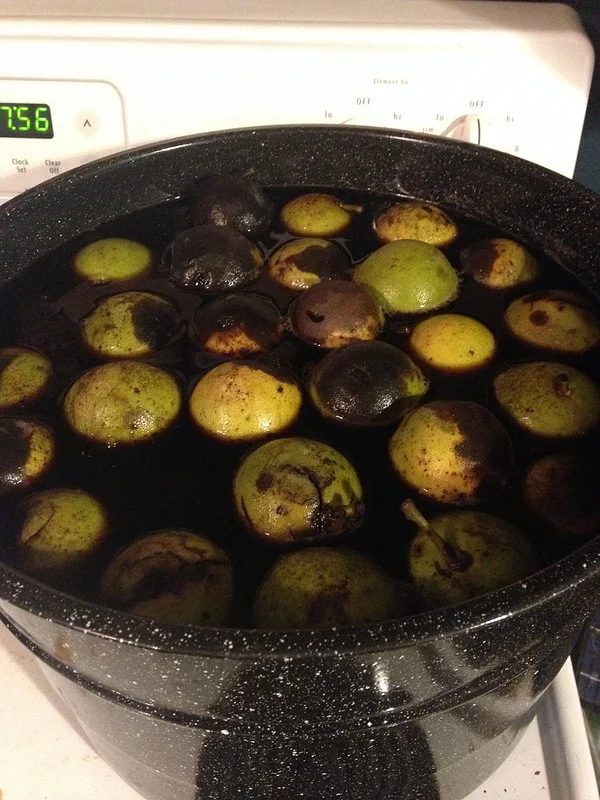
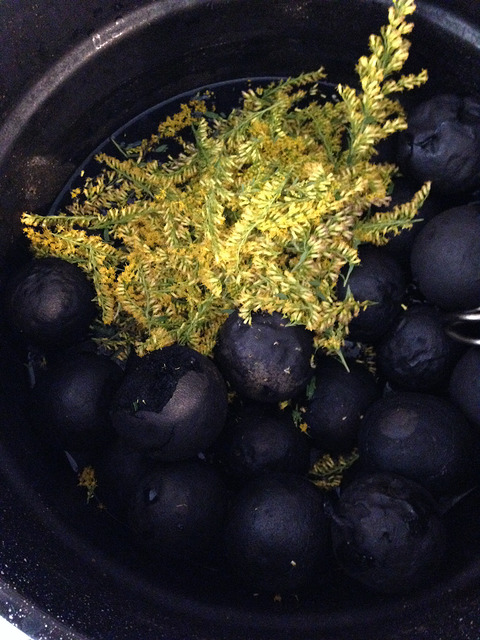
Put the walnuts in a pan, add just enough water to cover, and simmer. Then simmer some more. Keep simmering until the water is a dark brown. I decided to experiment and added goldenrod for a yellow hue. Construction nails can be added for a reddish tint as well.
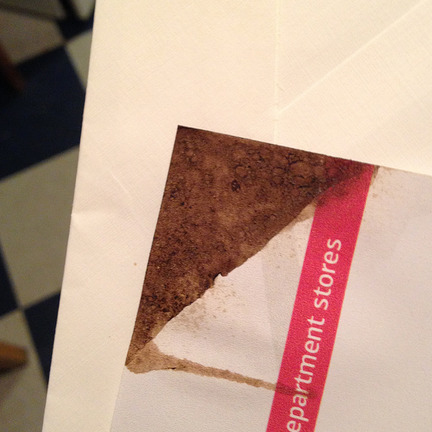
Once the water is a deep, inky brown, using a sieve or cheesecloth, strain the walnuts out. Wear gloves so you don’t stain your fingers. Put the liquid back on the stove to simmer a little while longer. I dip paper into the pan to test the color as it simmers.
After the liquid has cooled, you have your ink! Add a preservative like rubbing alcohol (2 T per cup ink) or a couple of dried cloves for long-term storage.
I prefer using a very fine paint brush for writing, but we’ve also used sticks and feathers. A quill pen from the craft store will work, too, but the alcohol may cause the nib to rust.