foraging

2810[high]5: Flowers to Forage

Edible flowers are a delicate way to add variety to your palate, and when they’re in abundance and right outside your door, then why not? Eat them fresh on a salad, or make a simple syrup. This is a basic recipe. I tend to use a full cup of flowers per cup of water.

Some quick etiquette for your foraging expedition: don’t take all of what you find, someone else may forage there, too; make sure it’s not an area that’s sprayed with herbicide; if you’re harvesting from a heavily traveled roadside, make sure you’re 30-feet or more from the road.

As always, make sure you know exactly what you’re harvesting.

chive vinegar.jpg

Chive Blossoms: This one is less “foraging” and more scouring the garden for what’s in bloom. While the other flowers on this list lend a sweeter flavor profile, chive blossoms provide a savory component to the spectrum of edible flowers. Pour white vinegar over a handful of blossoms for a delicious (fuchsia!) salad vinegar, add to savory crepes, sprinkle on a salad—use chive blossoms for a mild hint of onion.

dandelions.jpg

Dandelion: I know, I know, your HOA wants them gone, the bees want them for pollen, and now I’m telling you to eat them. It’s easy to find recipes for this sunny flower—wine, fritters, syrup, and jam. Pickle the buds before they open for a locavore take on capers.

 
Image via Unsplash

Image via Unsplash

Elderflowers: The large umbels are cheering up roadside ditches everywhere right now. You may have tried the flavor while drinking a St. Germain-based cocktail or in a hot tea. The flowers are considered medicinal by many, and similar in use to the elderberry. Can’t find the time to forage? These you can find dried at the Matthews Farmers’ Market!

 
honeysuckle for syrup.jpg

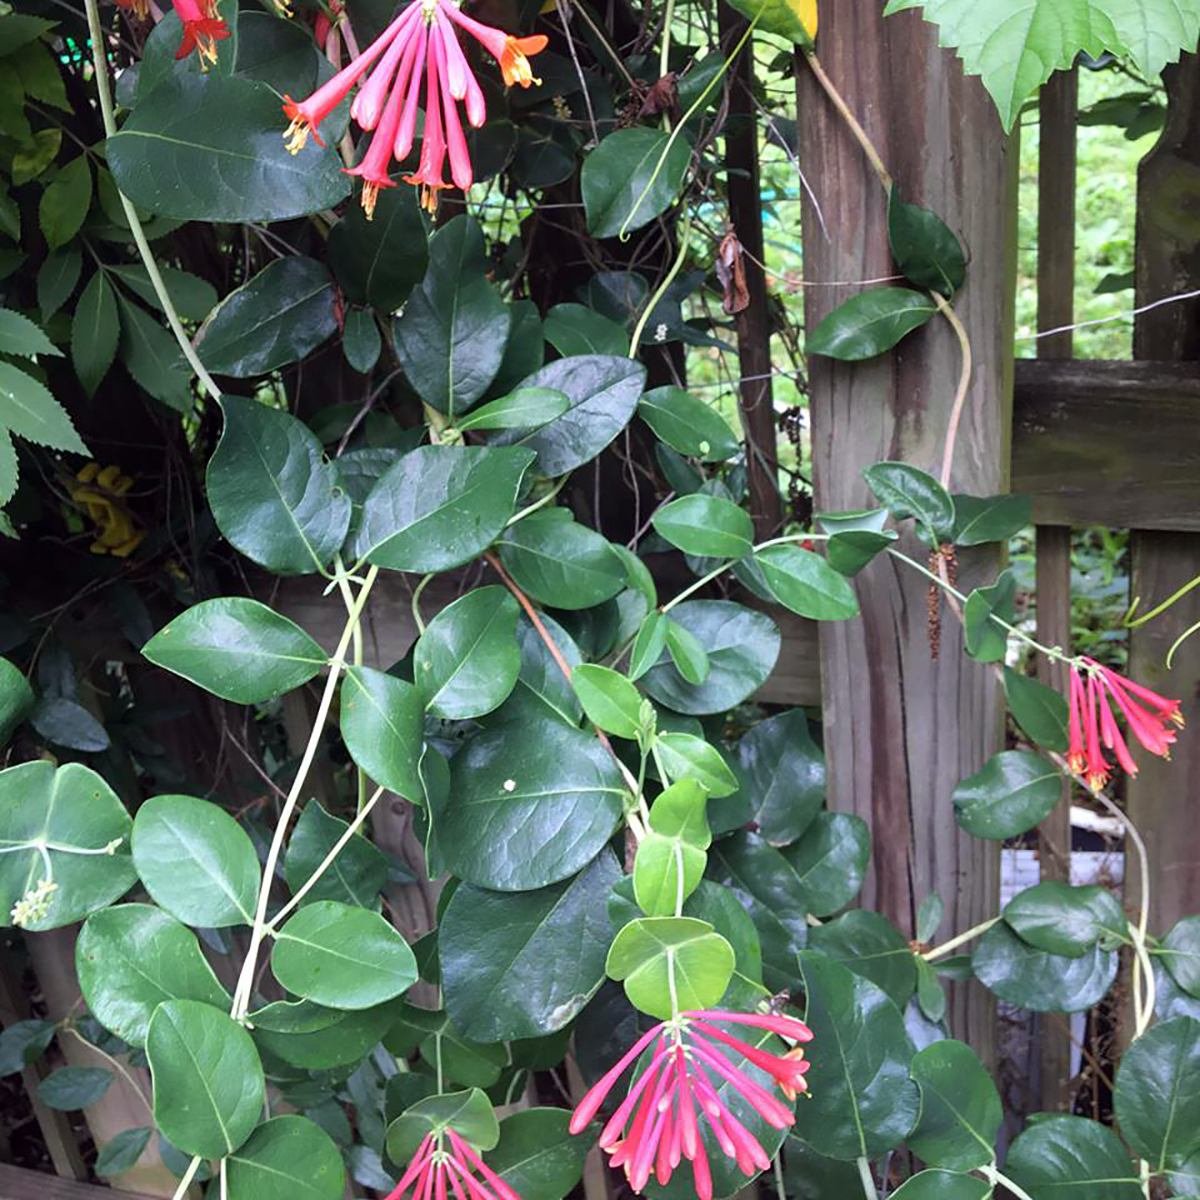
Honeysuckle: Invasive honeysuckle is an easy one to identify. Dry some in a dehydrator (or in an oven on the lowest setting with the oven door open) for a tasty tea. One hot cup of honeysuckle tea is a throat-soothing reminder of summer in the dead of winter. Or make a refreshing syrup for homemade sodas and popsicles!

 
Image via Unsplash

Image via Unsplash

Linden: Blossoms on the linden trees are just starting to appear. As with all flowers, syrup is a popular go-to. Linden (or tilia) is also popular as an evening tea; sit down with a cup when you’re ready to wind down for the day. Another common recipe is to preserve the flowers in honey for a pancake topping. Use the syrup in place of gin for a mocktail twist on the classic gin and tonic.


From Sassafras to Filé: Make your own soup seasoning

Amy Peterson’s Matthews-famous (maybe world?) gumbo.

Amy Peterson’s Matthews-famous (maybe world?) gumbo.

Despite the feeling that the temperatures will never drop below the 80s, fall is on the way. This means it’s your last chance to harvest sassafras leaves before they change color and start to drop.

The leaves on the sassafras tree vary in lobed shape.

The leaves on the sassafras tree vary in lobed shape.

Grab a pair of loppers and go find a sassafras tree, usually in the understory of wooded areas, perhaps near a dogwood or another low growing tree. They grow in colonies, so you’ll usually find several of the small trees together. Even if you don’t know it, you’re probably familiar with sassafras, it’s fairly common around Matthews. The leaves can be several different shapes on the same tree: three-lobed, left-hand mitten, right-hand mitten, and sometimes (when young) an oblong pointed leaf. Rarely you might even find a four-lobed leaf, but it’s pretty unusual.

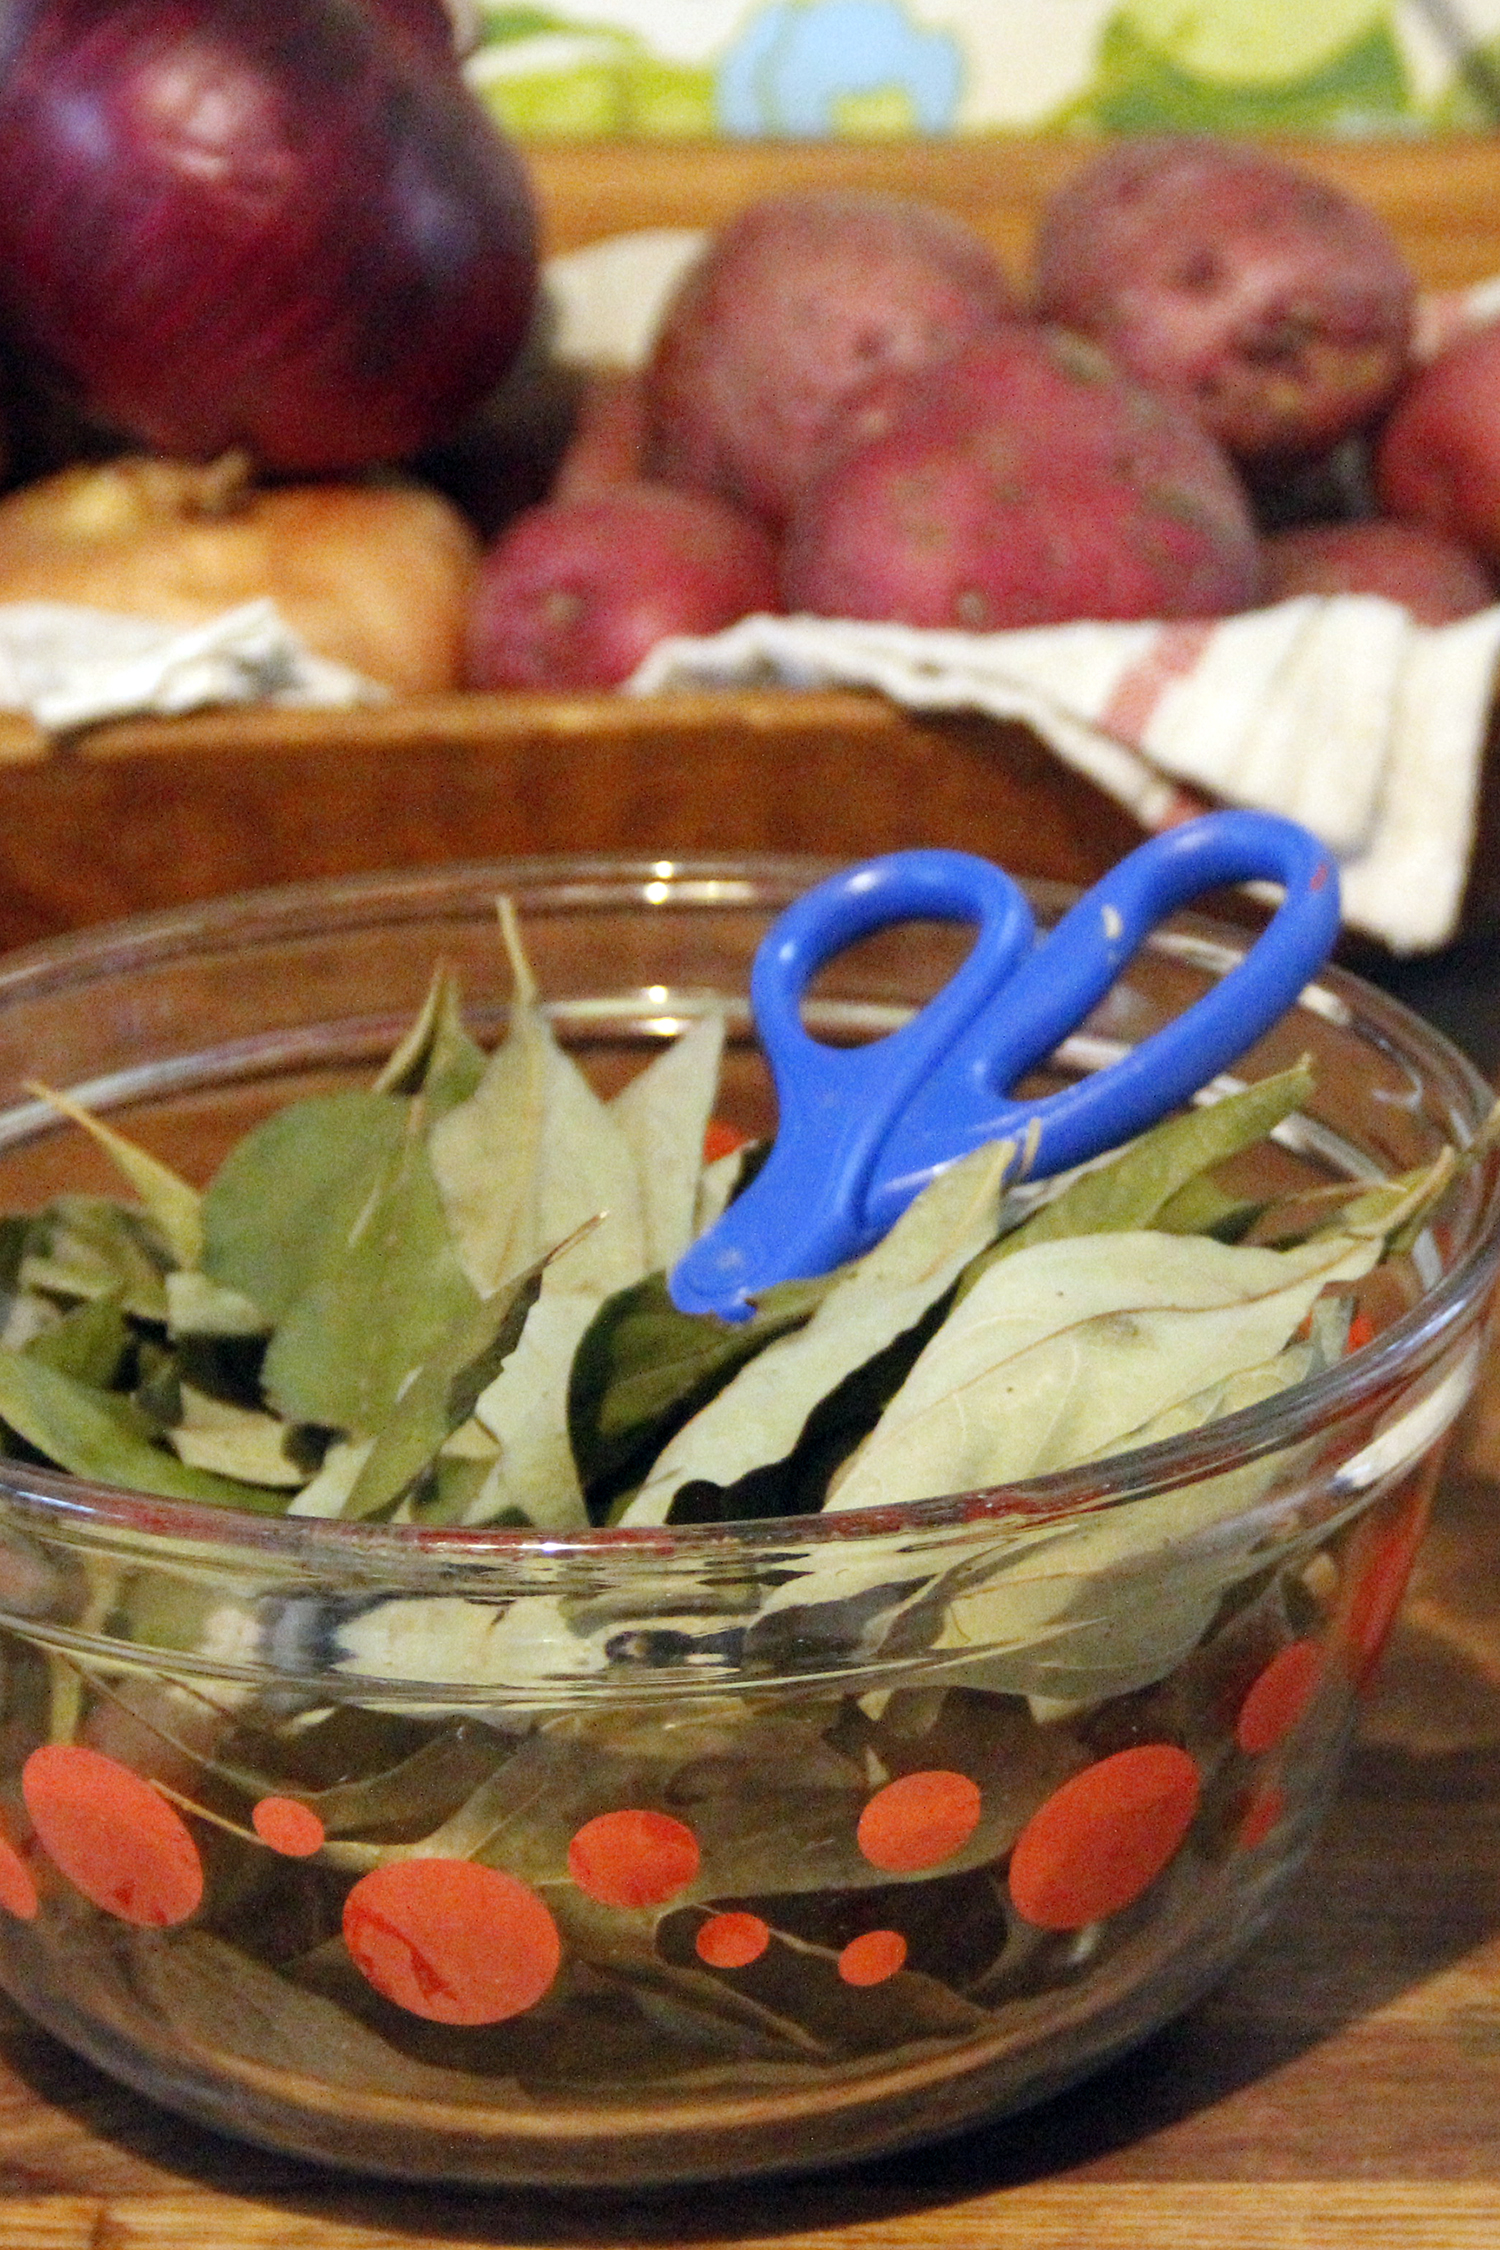
Harvest a small branch of healthy green leaves and find a sheltered spot to hang it. The leaves need air flow around them so they stay green and don’t mildew as they dry. In about 2 days those green leaves will be crispy and ready to turn into filé powder, a magical green, earthy-flavored seasoning commonly use as a thickener in gumbo.

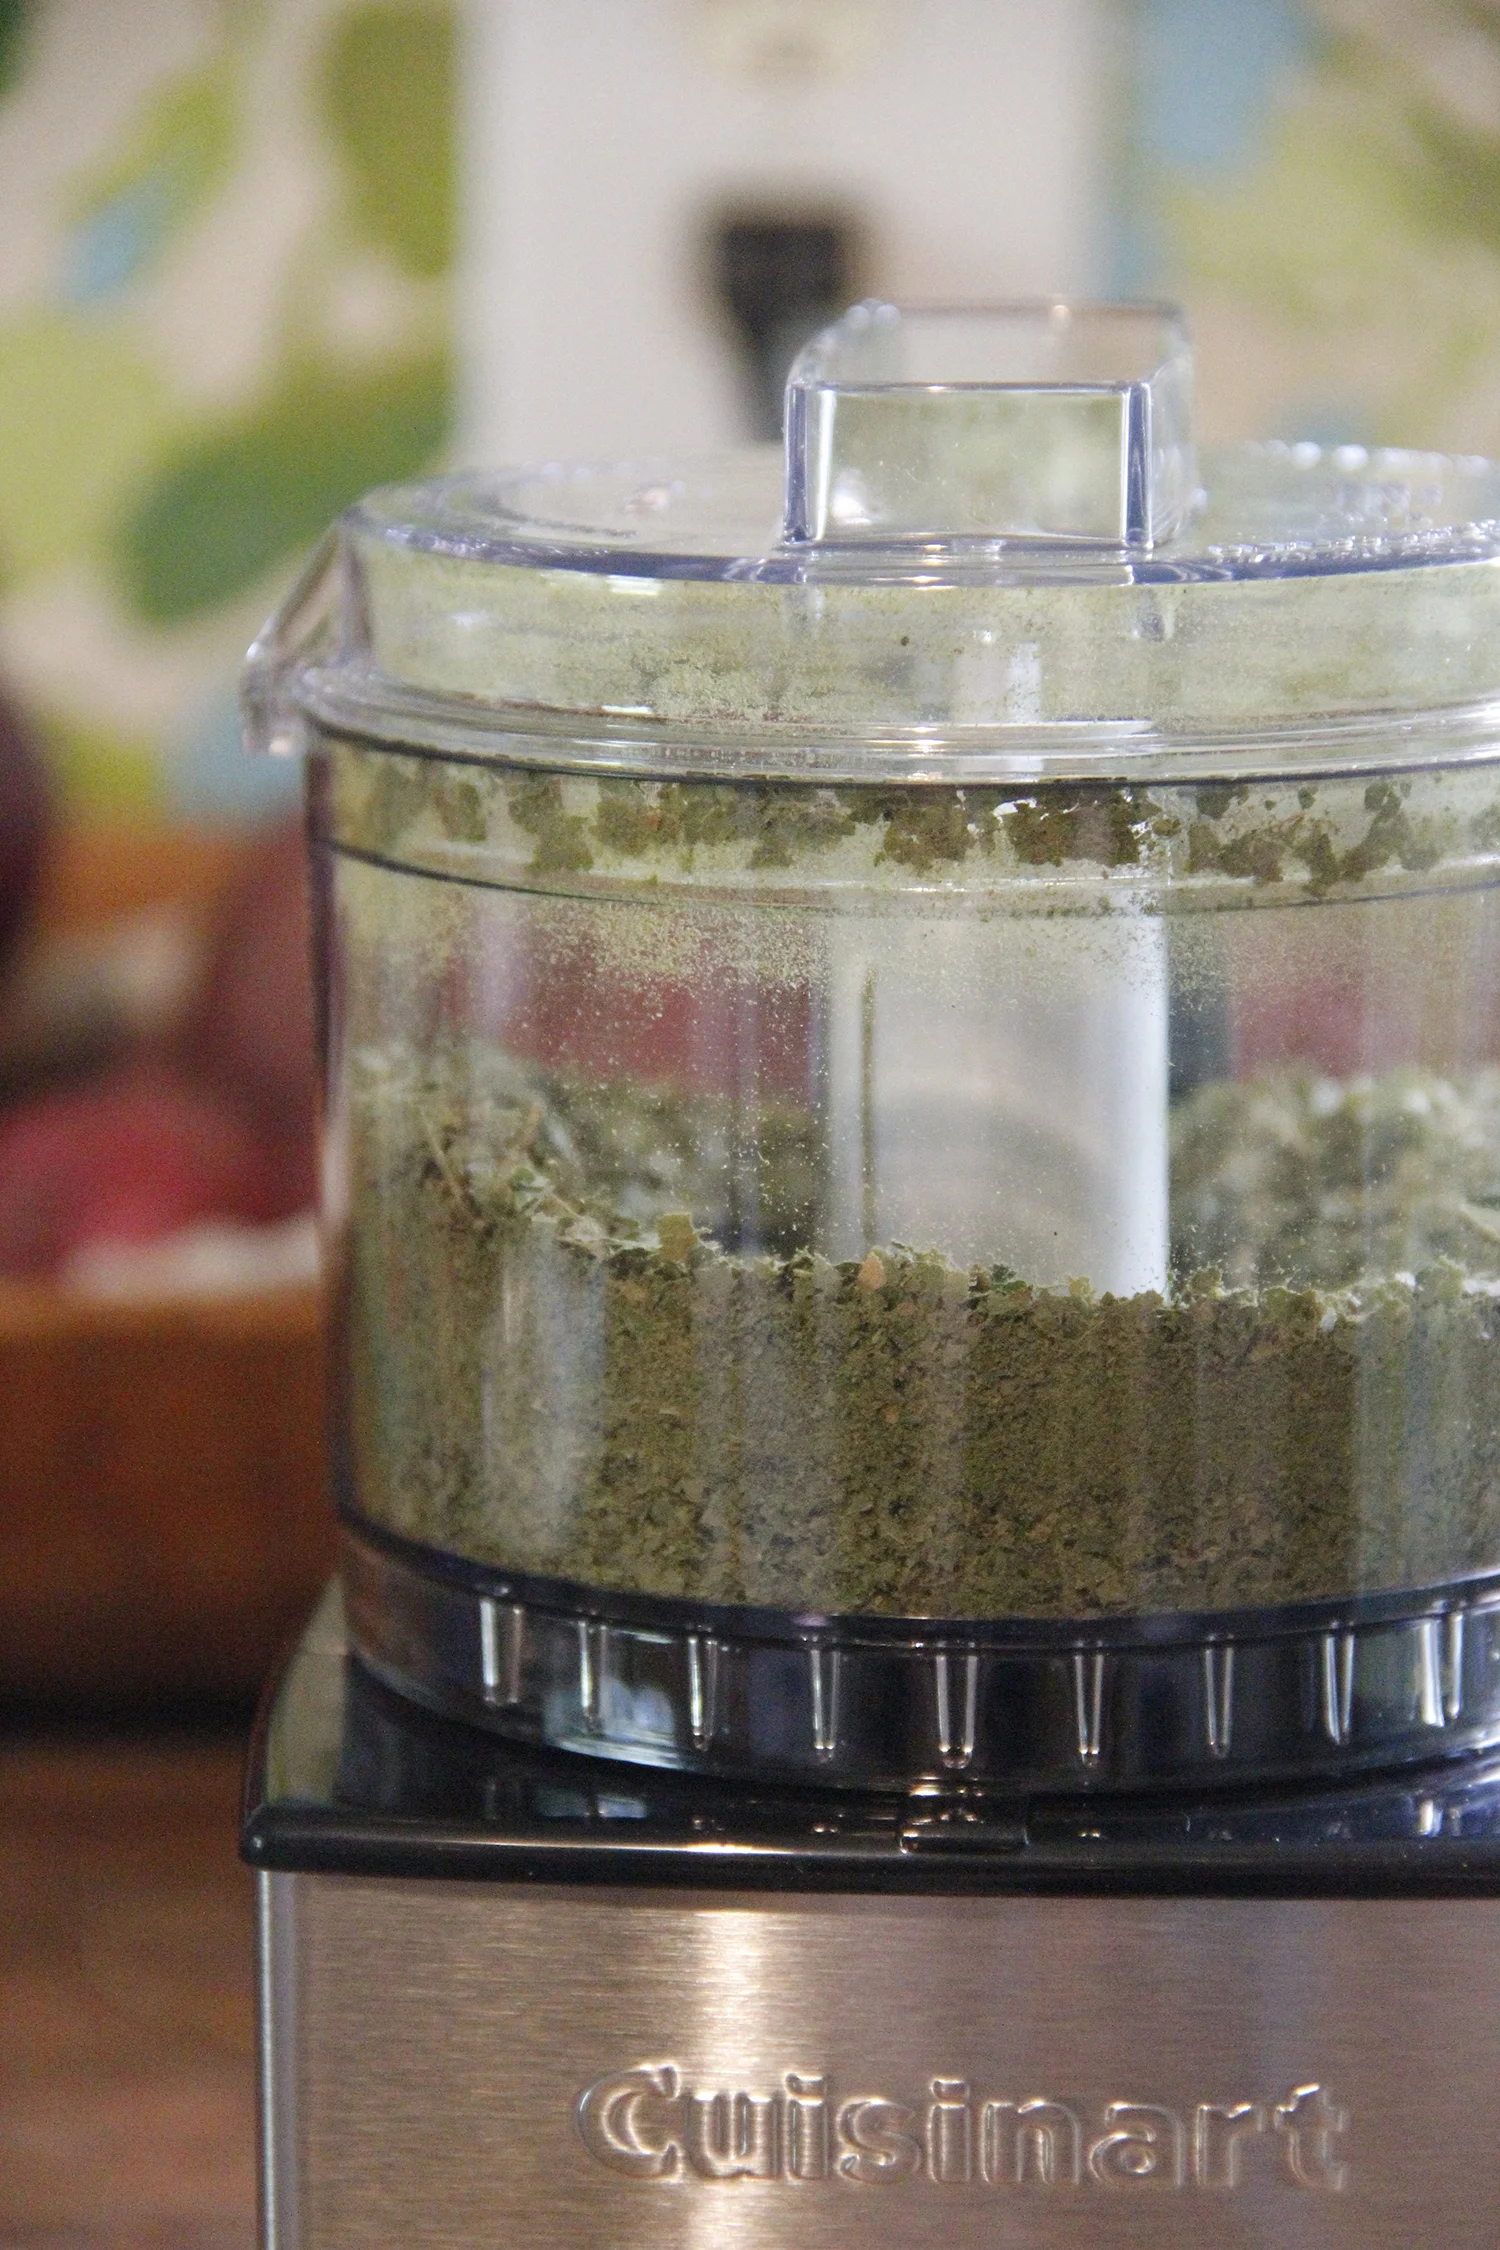
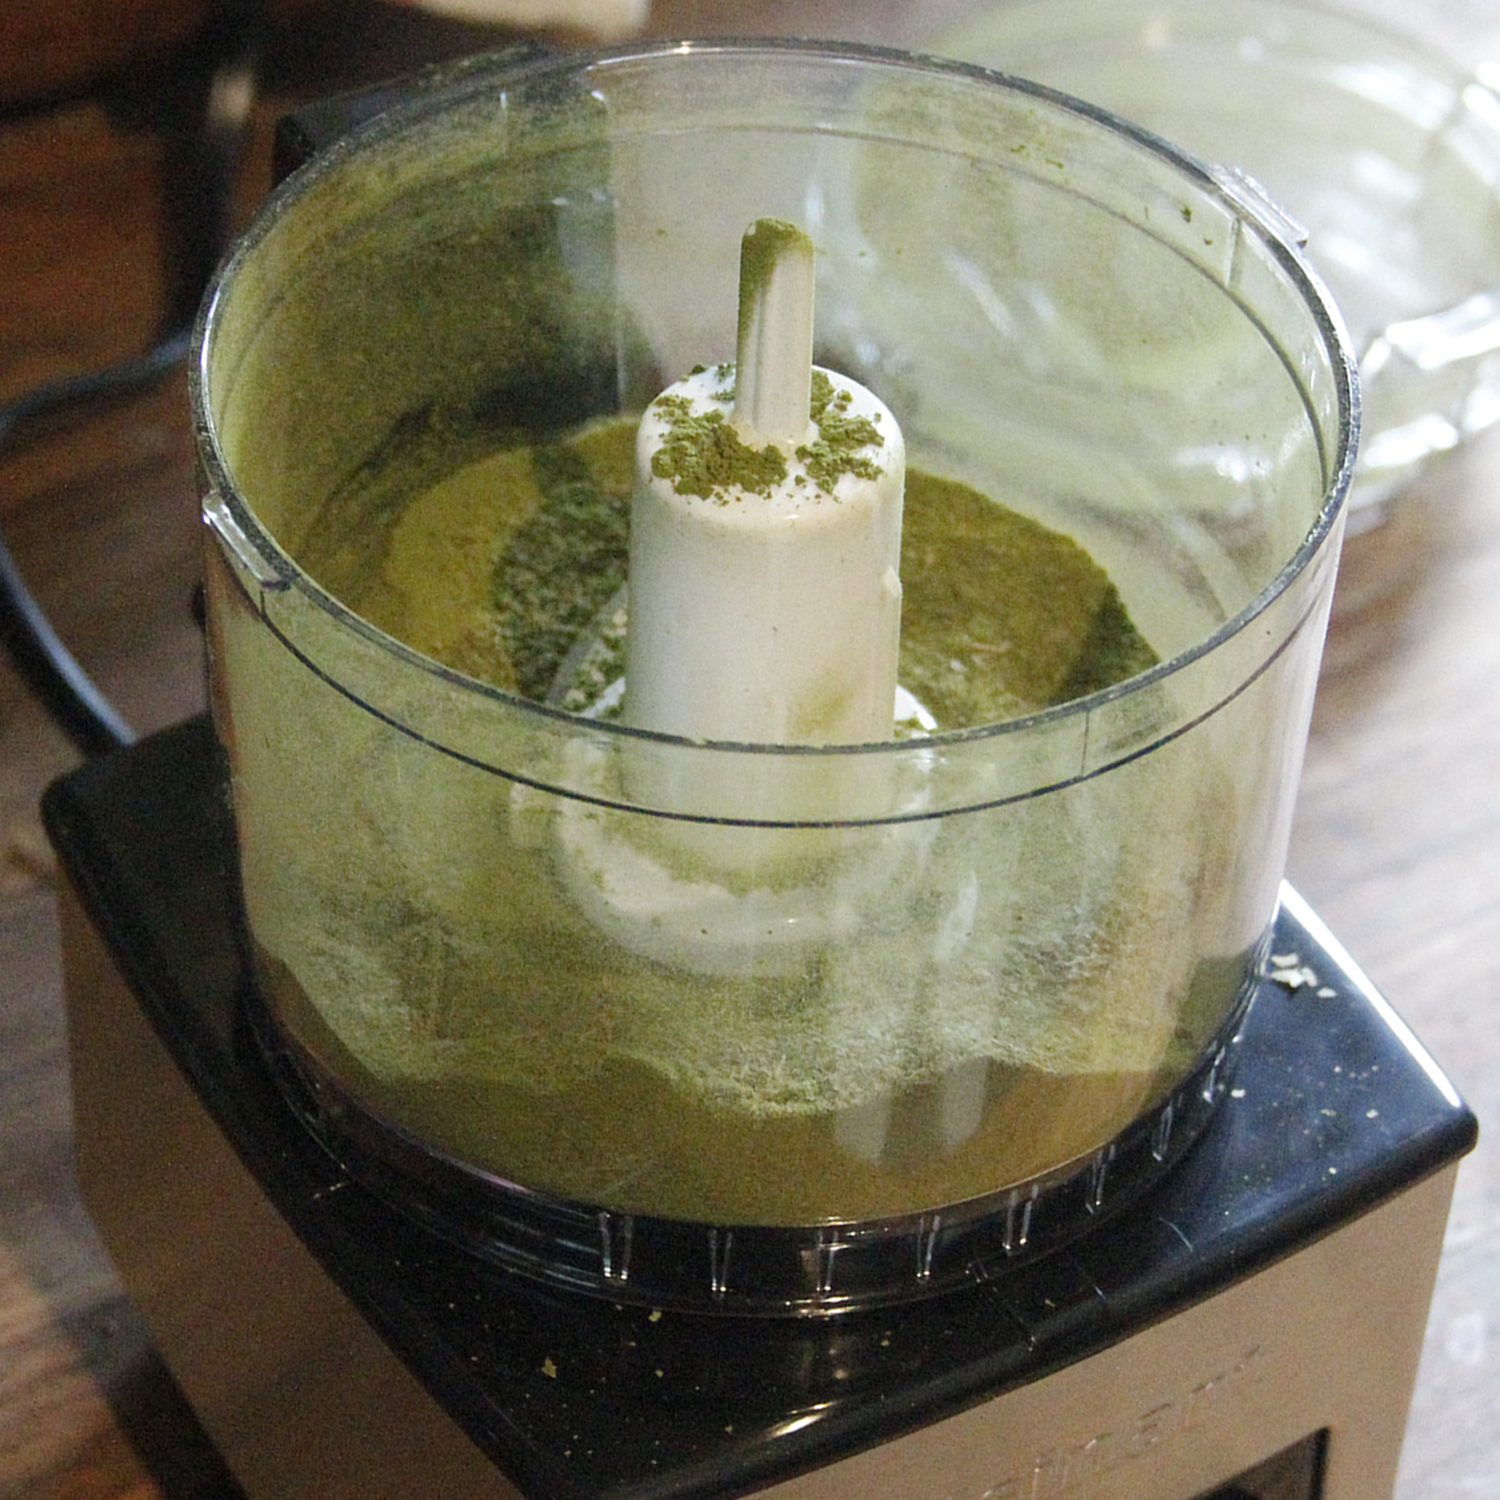
Once you have fully dry, crispy sassafras leaves just trim off the brown stem (don’t worry about the veins) and stuff your leaves in a food processor. Grind and grind until you have a fine powder. It’s that simple: filé is dried leaves pulverized into powder.

Cooking, though, is where the magic happens. As much as I love to cook a big batch of stew when it comes to gumbo you have to turn to a New Orleans native for a tried and true recipe. Enter Amy Peterson, my Louisiana go-to gal. Amy makes a gumbo that’ll make you want to marry her. Sorry, she’s happily taken (hi, Lyell).

file in bowl.jpg

Amy bases her gumbo on a recipe from Cooking Up a Storm, a compilation of recipes lost during Katrina. After the storm, the community shared their family recipes in The Times-Picayune of New Orleans as a way to help others rebuild.

Chicken and Sausage Gumbo 

Makes about 8 servings

1 (4- to 5-pound) hen (stewing chicken), cut into serving pieces

Salt and cayenne

1 cup vegetable oil

1 cup flour

2 cups chopped yellow onions

1 cup chopped green bell pepper

1/2 cup chopped celery

About 2-1/2 quarts chicken broth

2 bay leaves

1/2 teaspoon dried powdered or leaf thyme

1 pound andouille sausage, sliced 1/4-inch thick

1/4 cup chopped green onions (white and green parts)

2 tablespoons chopped parsley

Season the hen generously with salt and cayenne, and set aside. 

In a large Dutch oven, make a roux by combining the oil and flour over medium heat. Stirring constantly, cook for about 30 minutes, or until the roux is dark brown. Add the onions, bell pepper and celery to the roux and cook for 5 to 10 minutes, or until the vegetables are very soft.

Add the broth and stir to blend well. Add the chicken, bay leaves and thyme. Bring to a boil, then reduce the heat and simmer, partially covered, 2 to 3 hours, or until chicken is fork-tender. Add the andouille and cook for another 30 minutes. Adjust seasonings and add the green onions and parsley. 

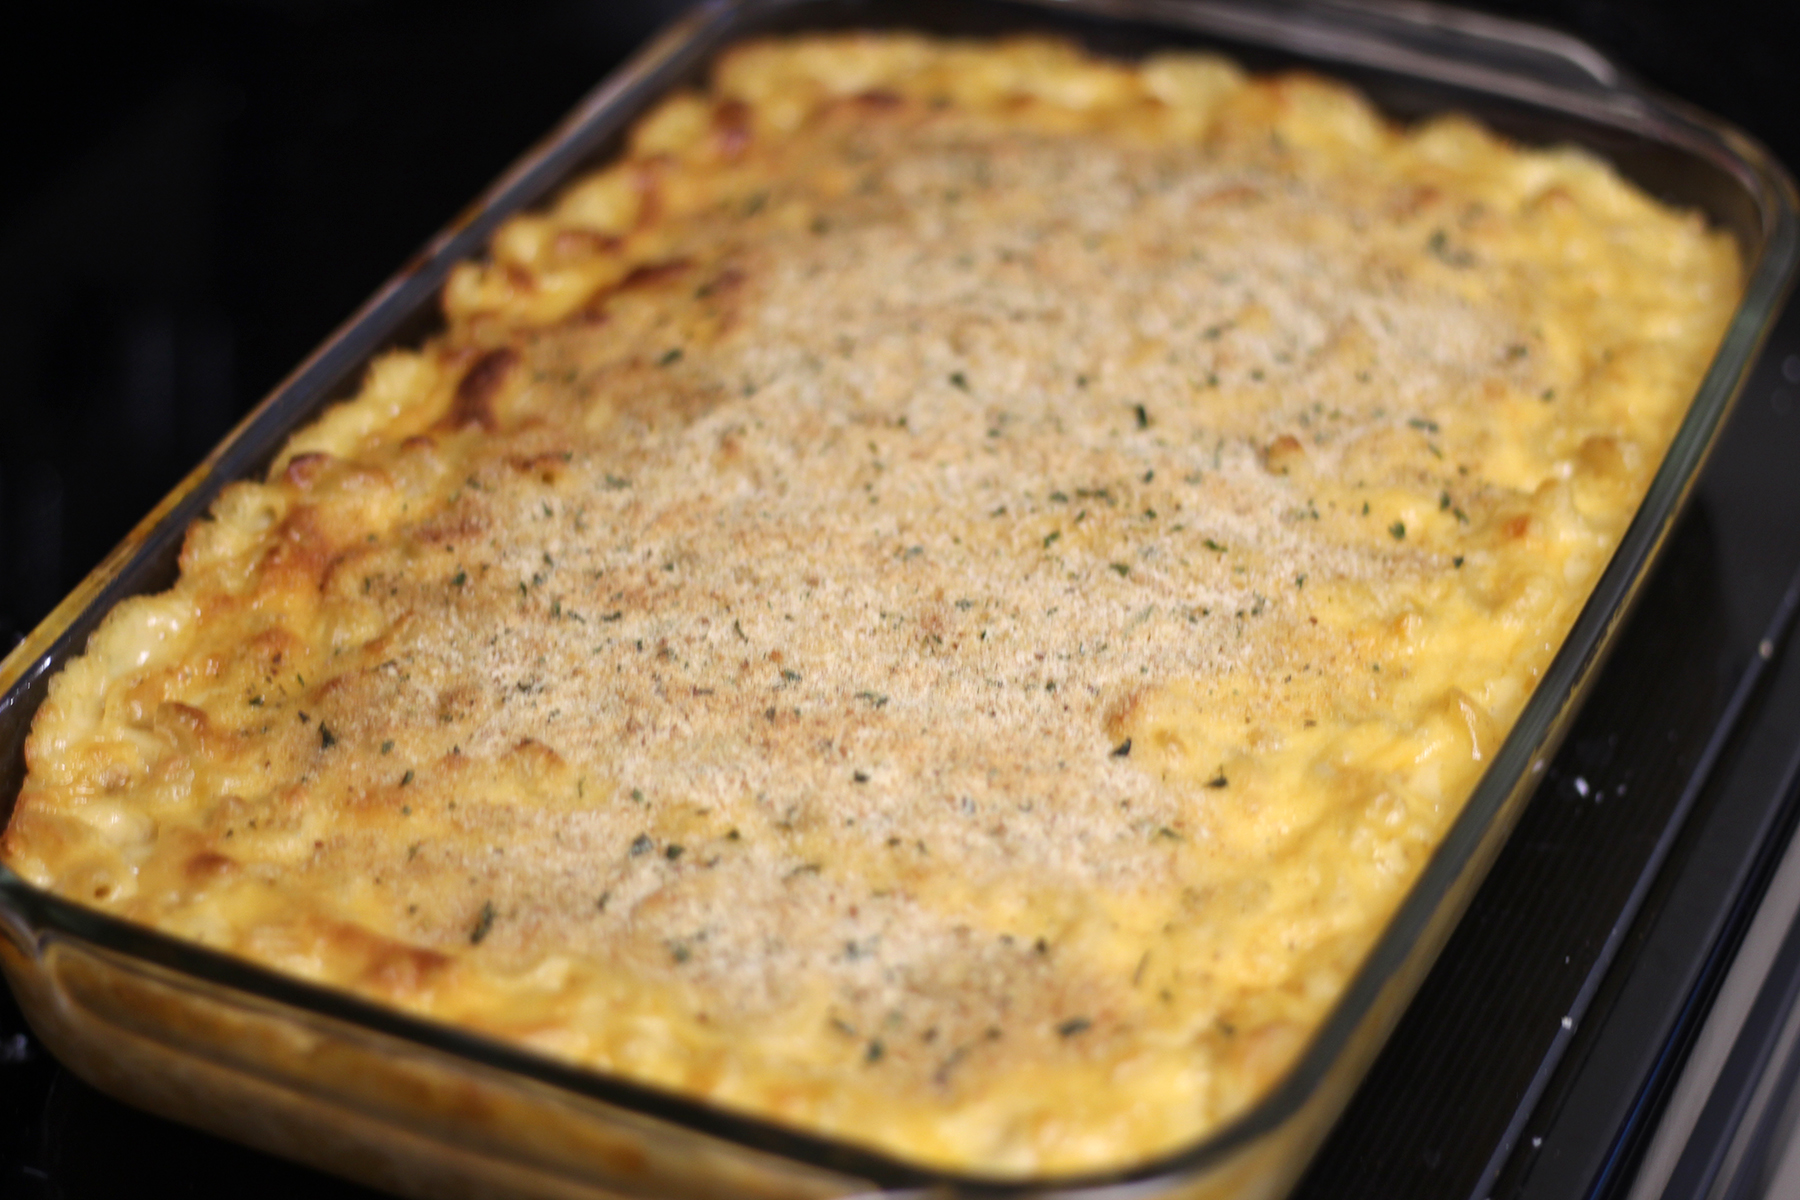
As a departure from the traditional rice base, Amy suggested potato salad. Trust me, the lady knows. When you serve up the gumbo, sprinkle 1/2 to 1 tsp. of filé powder on top of each serving.  Enjoy!

DIY Walnut Ink

Tis the season for the nuts to start falling. If you walk the greenways or live near groves of old trees, you may find large green balls on the ground. These are black walnuts, a notoriously difficult nut to crack.

walnuts forage.jpg

Black walnuts, a close cousin of the English walnuts found on grocery store shelves, are native to the eastern part of North America and were a resource of both food and medicine for North American indigenous peoples. Black walnut was also commonly used as an ink and dye.

Walnut ink is so easy to make, it’s totally a kid-friendly project. Keep in mind that the ink is colorfast, so it will stain.

walnut ink in pot.jpg

Go for a walk, gather some nuts then put on some clothes that can get stained. Let’s make some ink.

You’ll need:

  • Rubber gloves

  • Non-reactive pan that you don’t mind staining

  • Black walnuts with husk on, can be green or brown, just not shriveled and dried

  • Water

  • Rubbing alcohol

  • Sieve or cheese cloth

  • Glass jar or bottle for storage

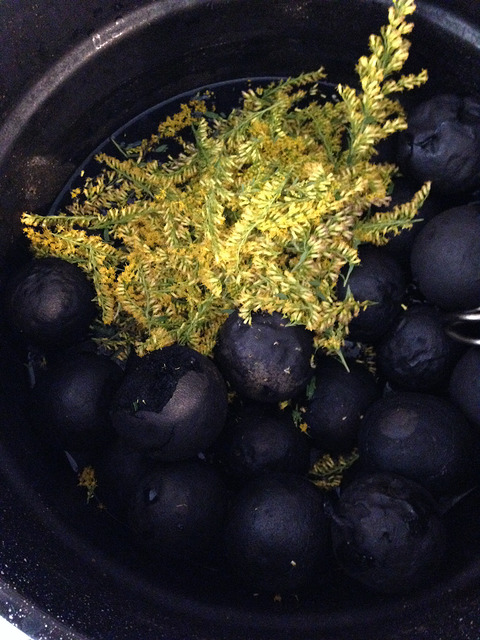
Put the walnuts in a pan, add just enough water to cover, and simmer. Then simmer some more. Keep simmering until the water is a dark brown. I decided to experiment and added goldenrod for a yellow hue. Construction nails can be added for a reddish tint as well.

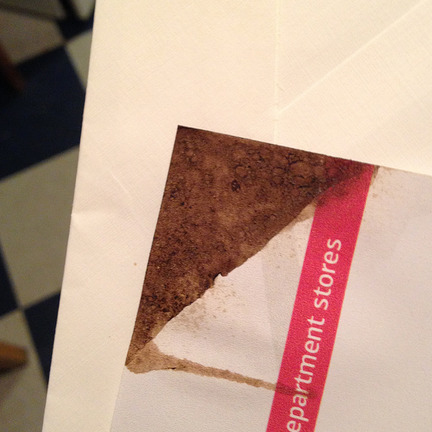
Once the water is a deep, inky brown, using a sieve or cheesecloth, strain the walnuts out. Wear gloves so you don’t stain your fingers. Put the liquid back on the stove to simmer a little while longer. I dip paper into the pan to test the color as it simmers.

After the liquid has cooled, you have your ink! Add a preservative like rubbing alcohol (2 T per cup ink) or a couple of dried cloves for long-term storage.

I prefer using a very fine paint brush for writing, but we’ve also used sticks and feathers. A quill pen from the craft store will work, too, but the alcohol may cause the nib to rust.

walnut ink 5.jpg